Manage tickets in Woov
 Updated
by Robyn Marais
Updated
by Robyn Marais
Once your Woov app is connected to your Howler profile, you'll be able to manage your tickets.
Within Woov, you can; Purchase Tickets, View Tickets, Register Tickets, Assign Tickets, Topup Tickets and Cashout. If you'd like to transfer a ticket within your howler profile, you'll need to visit howler.co.za/tickets
Purchase Tickets
- Within the event that you'd like to attend, navigate to the "Wallet".
- Select the "ADD" symbol at the top left of the screen
- Select "Buy ticket" in the popup modal
- You will be directed to the Howler page where you can purchase tickets
View Tickets
Ensure that you have linked Woov to the Howler profile that your tickets were purchased with or assigned to. These tickets will appear within the "Wallet".
If a friend has purchased a ticket for you, ensure they have assigned this ticket to you so that you can access it here.
Before you arrive at the event, ensure that you have got your ticket available to view to show at the gates to gain access.
To view your ticket QR Code;
- Select "Ticket Details"
- Select "View QR Code"
Register your ticket
Some events require your registration to be completed before allowing you access to your tickets.
If your ticket is not registered, it will show the option to "Complete registration"
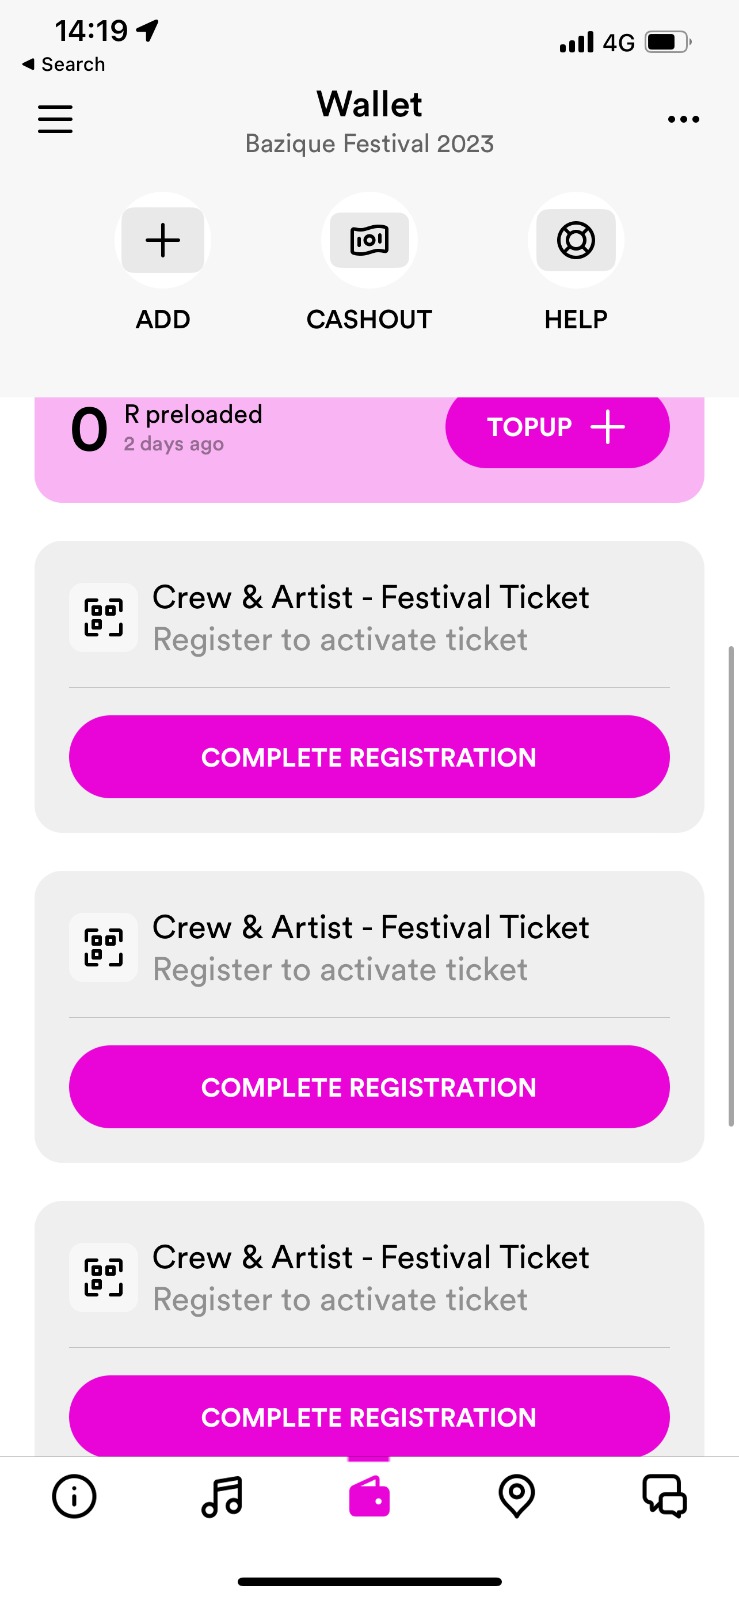
- Click on this button and fill in your details to complete your ticket registration.
Once your registration is complete, you'll have access to view and topup your ticket.
Assign Tickets
Once you've purchased tickets, the process will prompt you to assign your tickets. If you choose to decide later, your ticket will be pending assignment. Each ticket requires a unique profile to be accessible.
Your unassigned tickets will be visible in your "Wallet".
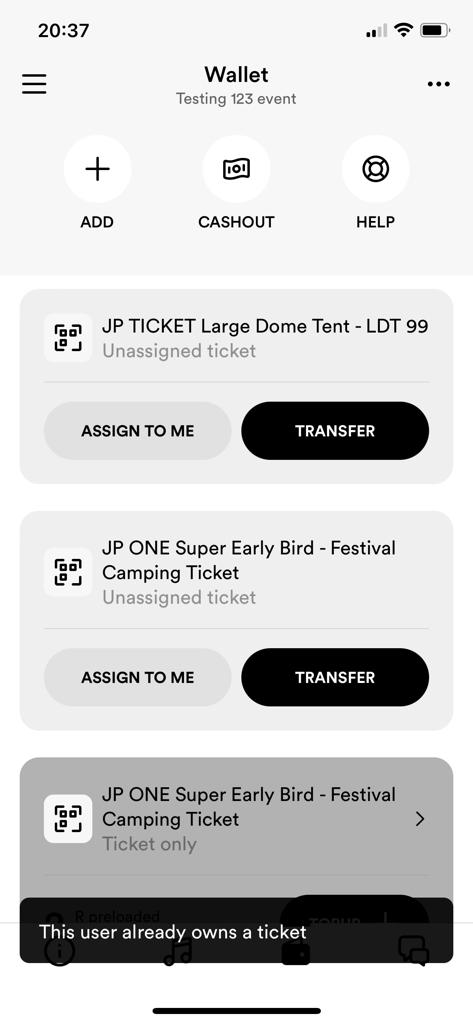
- When you're ready to send your ticket to a friend, click on the "transfer" button
- Enter the email address of the friend you'd like to send this ticket to
- Confirm their email address
- Click on "transfer"
This ticket will now appear in your friends "Wallet". They will need to sign in to Howler to access their ticket.
Reassign tickets
If you have assigned a ticket to the incorrect email address, and Howler profile has not been created using this email address, you will have the option "Edit transfer".
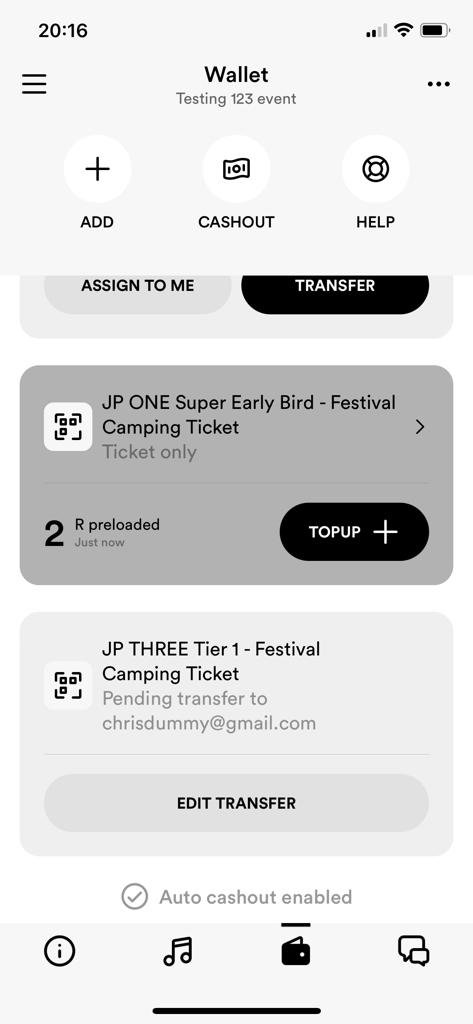
- Select "Edit Transfer"
- Enter the email address that you would like to reassign this ticket to
- Confirm the email address
- Select "Transfer"
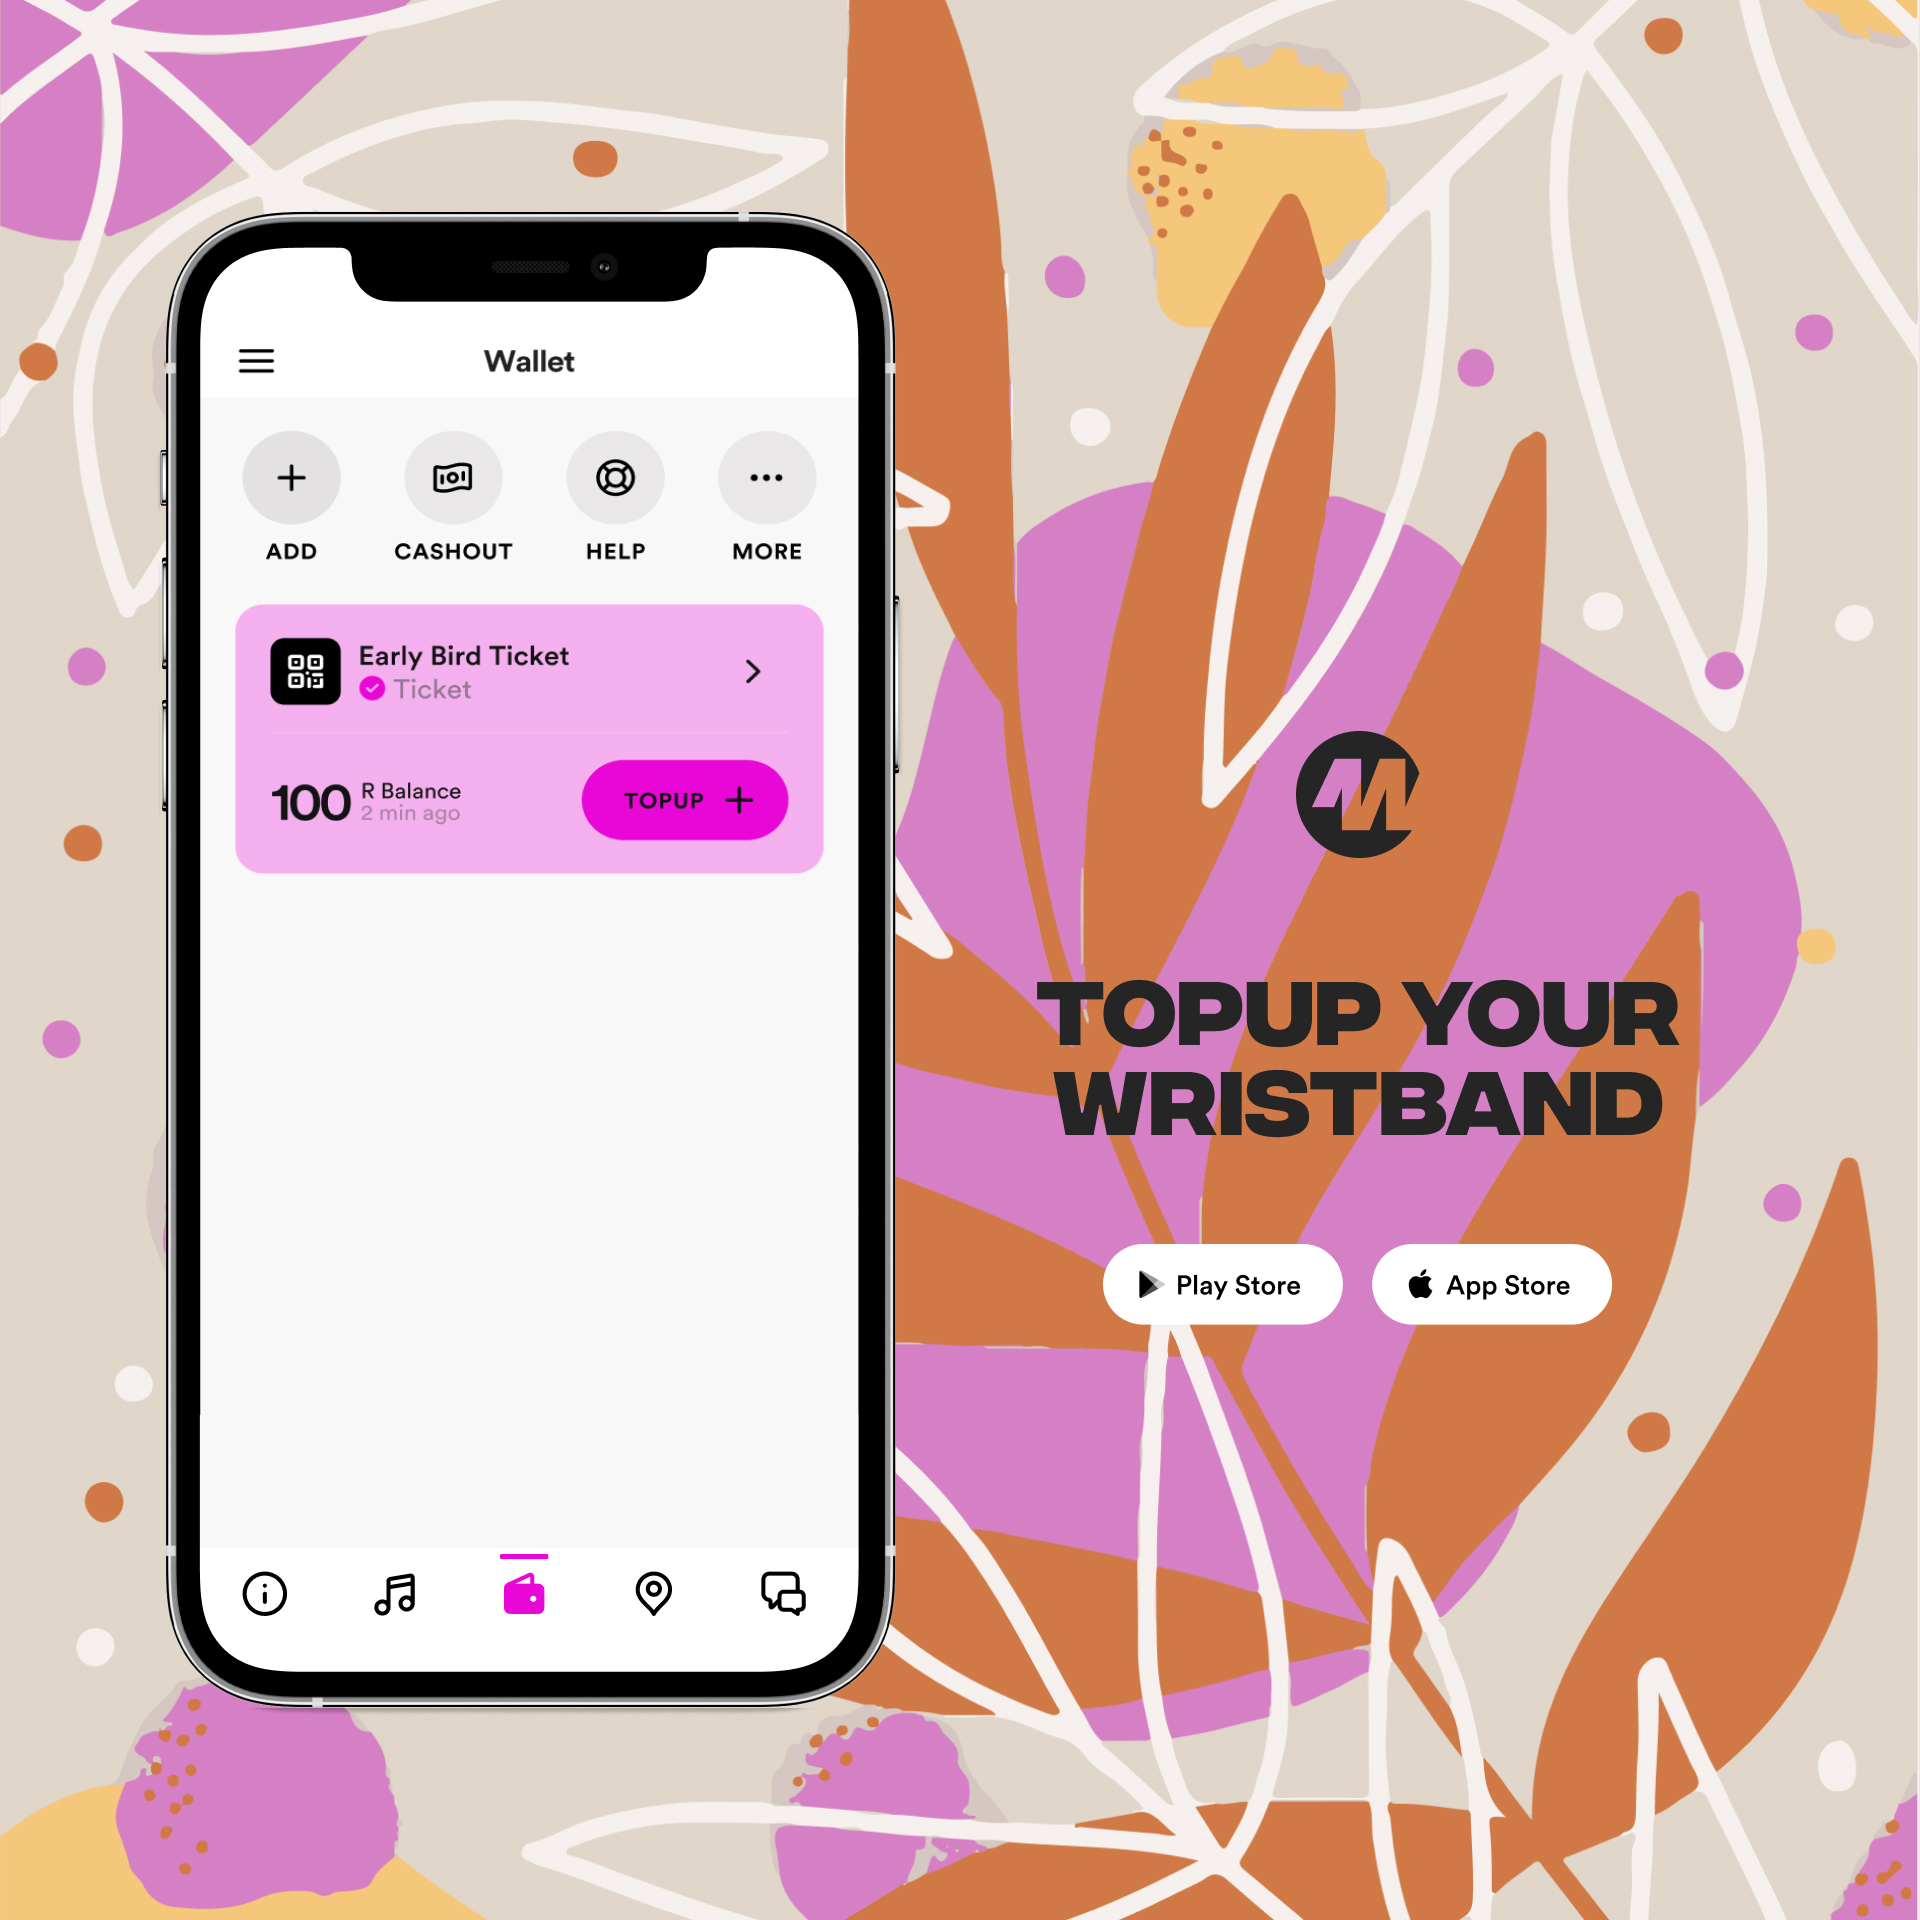
Topup Tickets
Within your "Wallet", your ticket will display your pre-event topped up amount before the event and the latest available balance on your wristband during the event. This balance will indicate when this was last updated.
In your "Wallet" you will be able to view your ticket. To topup your ticket in the app;
- Select the "TOPUP" button"
- Enter the amount you'd like to topup
- Complete your payment details
Once completed, your topup will reflect on your ticket.
If online topups are not available, you can always topup at a topup station onsite.
Auto cashout
You can set up autocashouts within your Howler profile to have your leftover funds from an event automatically transferred back to you when cashouts open after an event.
Once you have setup auto cashouts, this will apply to all cashless events that you attend.
If cashouts are already open, you'll need to mannually cashout for your current event before setting up autocashouts for future events.
To set up auto cashouts in Woov;
- Within your "Wallet" select the "Cashout" icon at the top of the screen.
- Select the "Setup auto cashouts" option in the popup modal at the bottom of the screen
- A browser will open within the app where you will need to enter your banking details for cashouts to be paid out to.
- Select "Auto Cashout" at the bottom of this page
- Select "Save" and you will be directed back to the app.
Once cashouts open after the event, your leftover funds will be automatically transferred to your account.
Manual Cashout
Once cashouts are open, you'll receive a notification to cashout your remaining balance.
- Within your "Wallet" select the "Cashout" icon
- Your wristband should automatically be paired. If it is not paired, you can enter the UID number found on the back of your wristband.
- Select "Cashout" on your wristband
- Enter your banking details and select "Cashout"
You will receive an email to confirm your cashout amount. Cashouts will take up to 7 days to reflect in your account.
You can view your transaction history at howler.co.za/cashless_tags