How to create an event
 Updated
by Robyn Marais
Updated
by Robyn Marais
How to Create an Event
Howler's Organiser Portal empowers you to create your event and manage ticket sales.
To get started, you'll need to create an event to publish on howler.events with tickets made available to purchase.
Watch the video or follow the instructions below.
- Once logged into the organiser portal of Howler at organisers.howler.co.za, select "New Event" at the top right of the page or select an event that is already created.

The event information that you would have entered when signing up to the Howler Organiser Portal will automatically be used to create your first event.
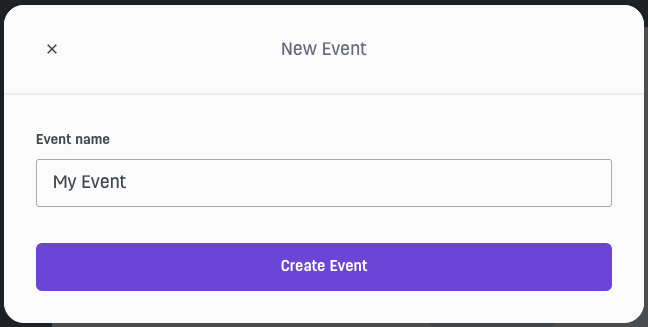
- Enter the name of your event and select "Create Event".
- The first part is the "Details" Section as shown below.
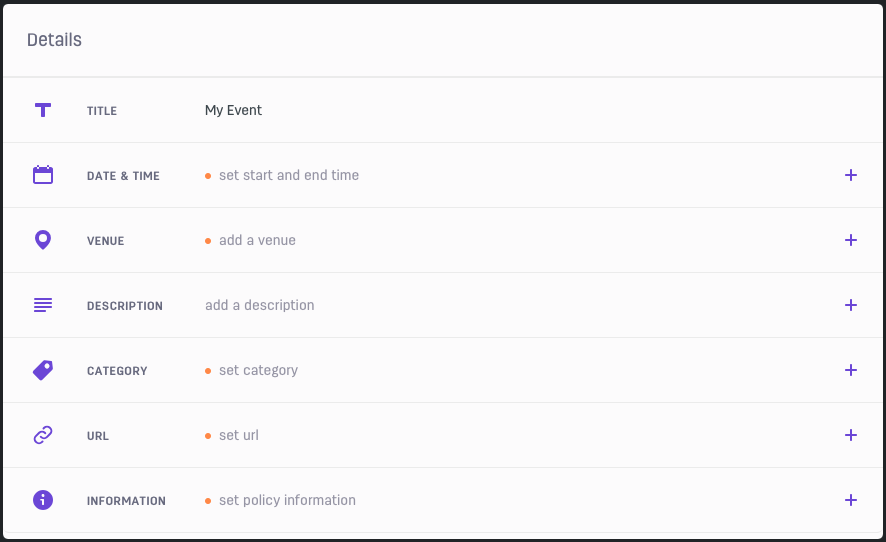
- You're able to edit the event name by selecting the pencil icon on the right of the "Title" section.

- Add the "Date & Time" of your event by selecting the section.
Select the start and end times by entering a time in 24 hour format and a date by selecting it from a dropdown menu followed by selecting "Save".

- Add the "Venue" by selecting the section.
Enter the "Venue Name" and the "Venue Address" followed by selecting "Save".
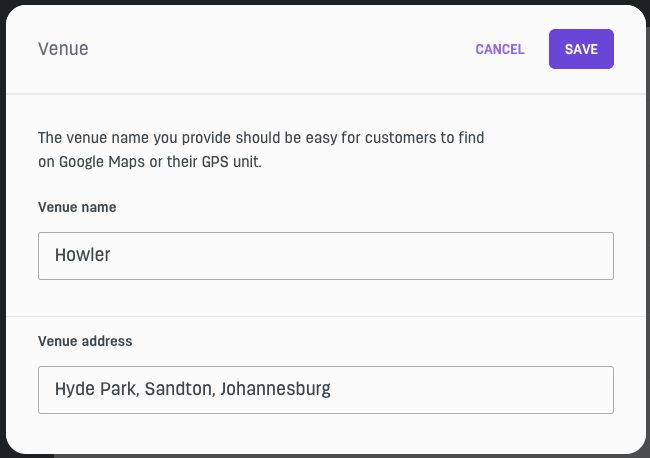
Tip: Use the address or co-ordinates as stated in Google maps for an accurate location.
- Add the "Description" by selecting the section.
Enter any details of your event you would to share followed by selecting "Save", this information will appear below your event title and image.
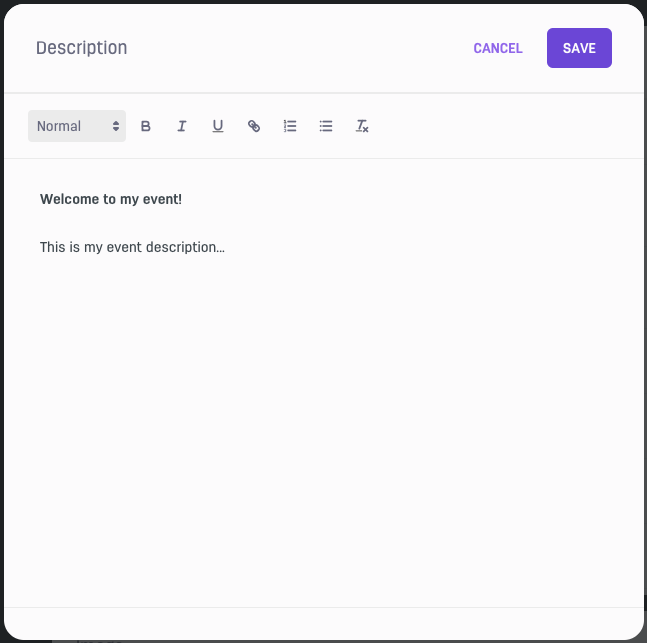
Tip: Enter any information you think will be useful, not only the important parts. Use bold to highlight important information or headings.
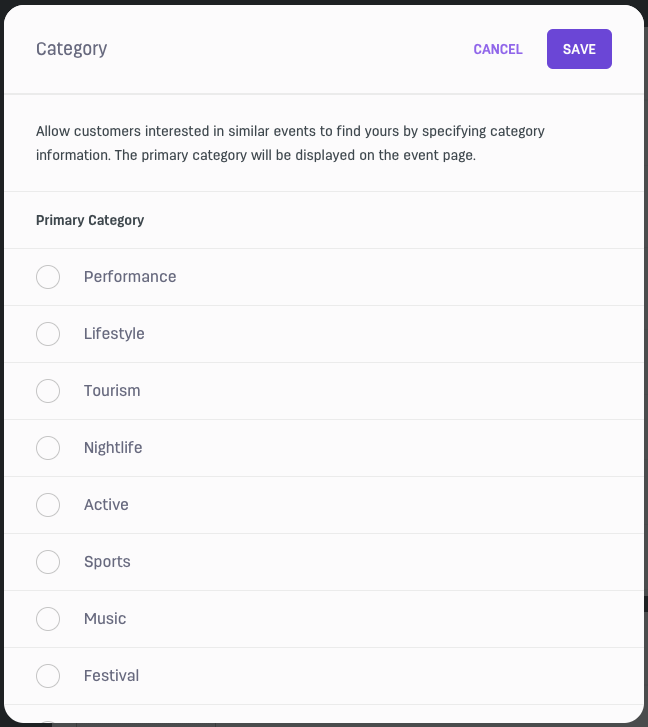
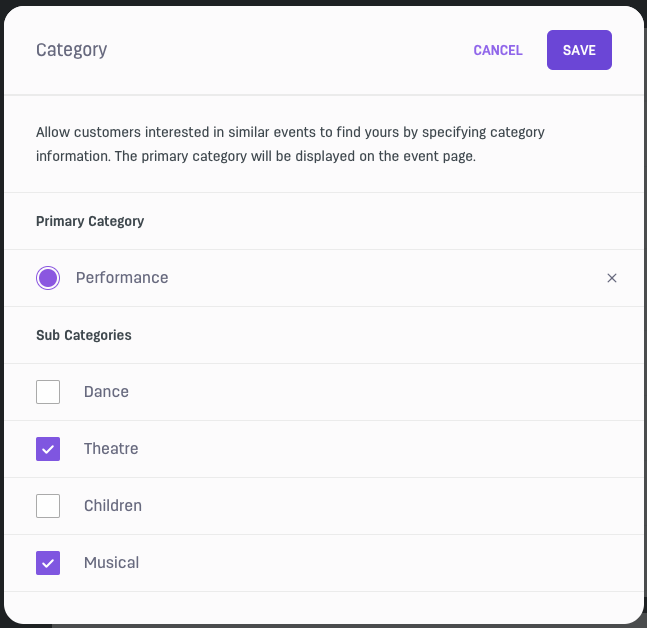
- Add the "Category" by selecting the section.
Select a "Primary Category". Once selected you might want to select a "Sub Category", but this is not a requirement followed by selecting "Save"
 |  |
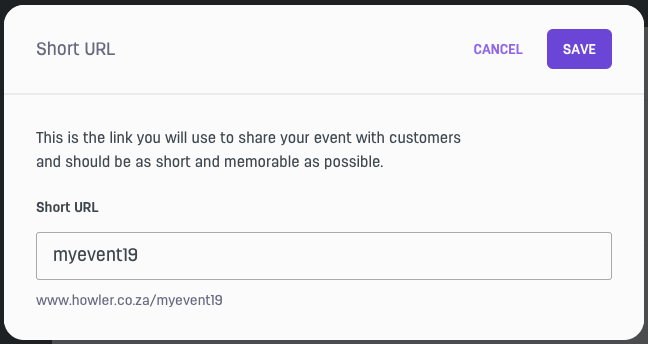
- Create your event web address by selecting the "URL" section.
Enter the "Short URL" and select "save".
This will be the short URL used to promote your event. Make this distinctive, short and memorable so that it's easier for customers to remember.
- Add "Information" (Policy) by selecting the section.
"Age requirement", "Parking" and "Prohibited items" are set as default fields to enter, but can be removed by selecting the circle with a stripe. Alternately you can add a policy by selecting the "Add policy" section and entering a "Policy label" and "Policy description". Select "Save" once completed.
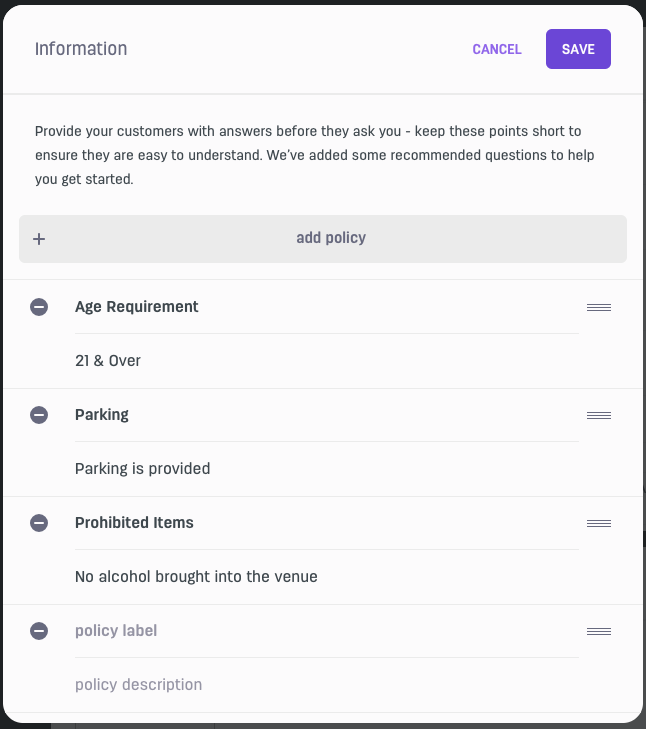
Tip: Include all important and FAQ information in this section. This will help reduce questions asked to social media, support staff and you as the organiser.
- The second part is the "Image" section as shown below.
Select the cloud icon and open/upload an image for the event.
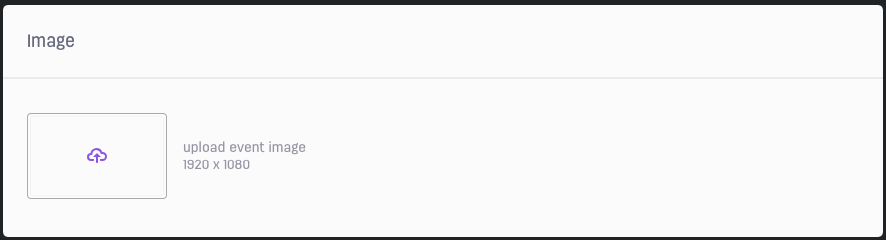
Tip: Uploading smaller size (.mb) files will reduce the event page load time.
Creating Tickets
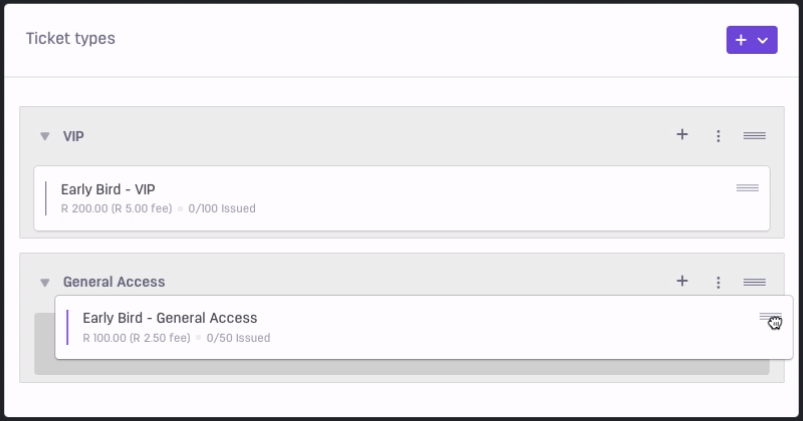
- The "Ticket types" are shown bellow. Select the dropdown to choose between adding a "New ticket category" and a "New ticket type".

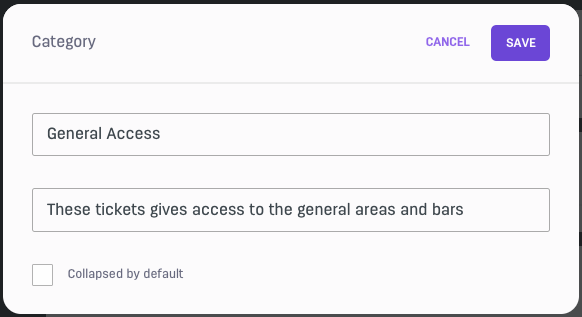
- Select "New ticket category" and enter the "Category name" and "Category description". You can choose to collapse the category by default followed by selecting "Save".
- Select "New ticket type" and carefully read through and enter the relevant information, especially when configuring the booking fees.
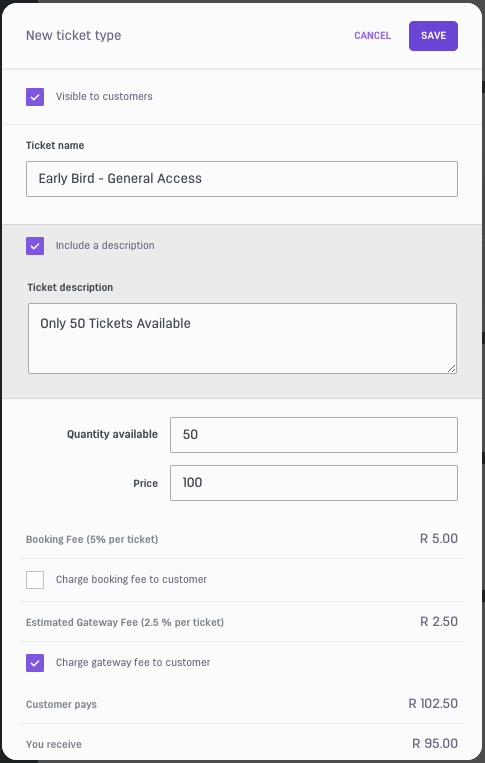
Note: Please make sure that you understand the fee structure before selling tickets.
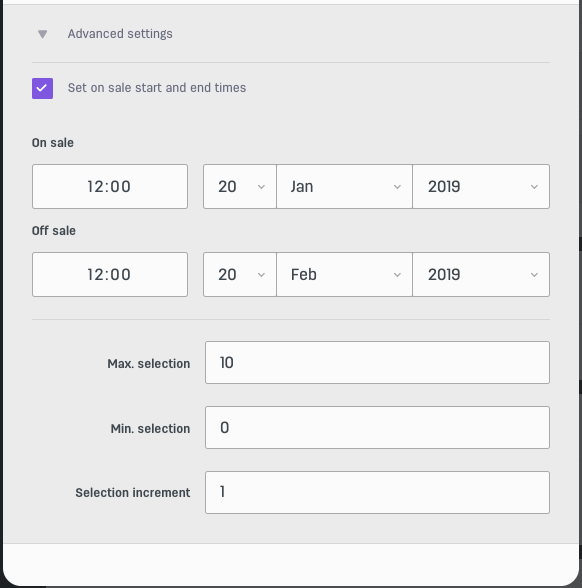
- With the same window open, scroll down and select the "Advanced settings" to change the amount of tickets purchasable per order, the increments/multiples that they can be bought in and the ticket on-sale and off-sale time and date followed by selecting "Save".
- By selecting and holding a ticket type you're able to move them in and out of various categories as well as being able to move the categories into any order.
Add Artists
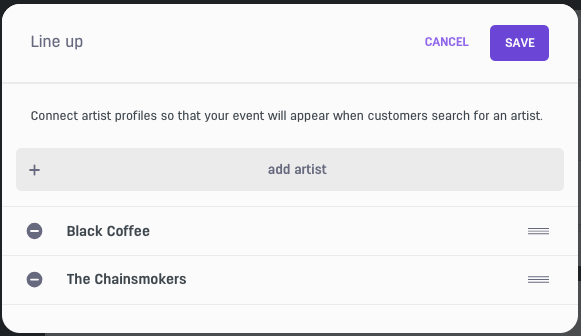
- To add event performers, select the plus icon in the "Line up" section.
Select the 'Add artist' section and enter the line up. By selecting and holding an artist you're able to move them into any order. Select "Save" when done.
 |  |
Enable Event Protect
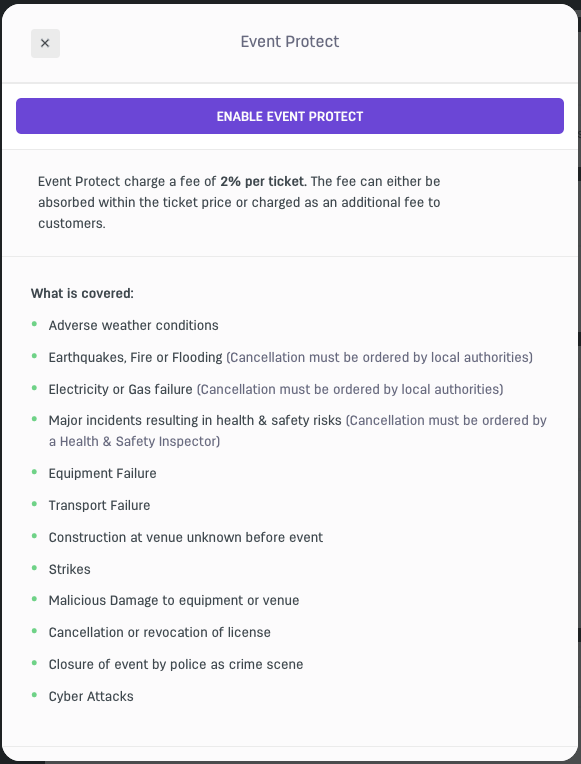
- To enable Event Protect select "View Details" in that section and carefully read through all information.
Only select "Enable event protect" only once you are 100% sure you would like to activate it, once activated it can not be deactivated.
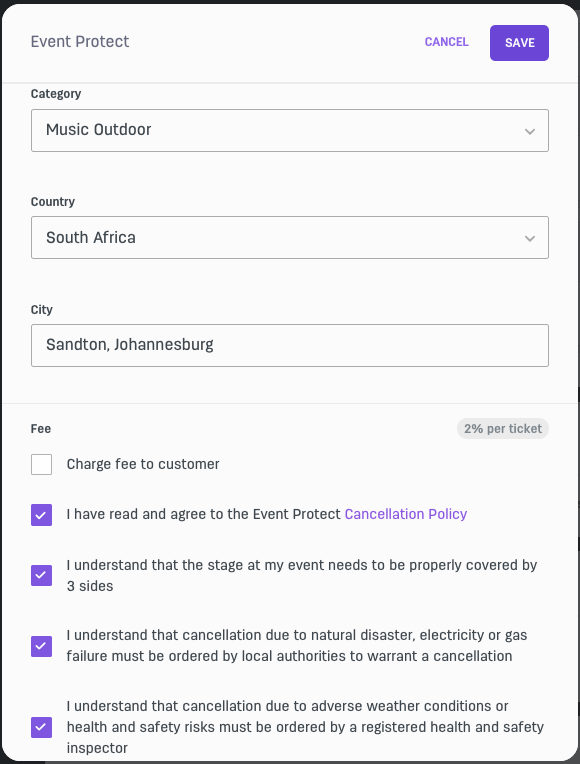
- If you chose to enable Event Protect, accurately enter the information and read the policies and disclaimers followed by selecting "Save".
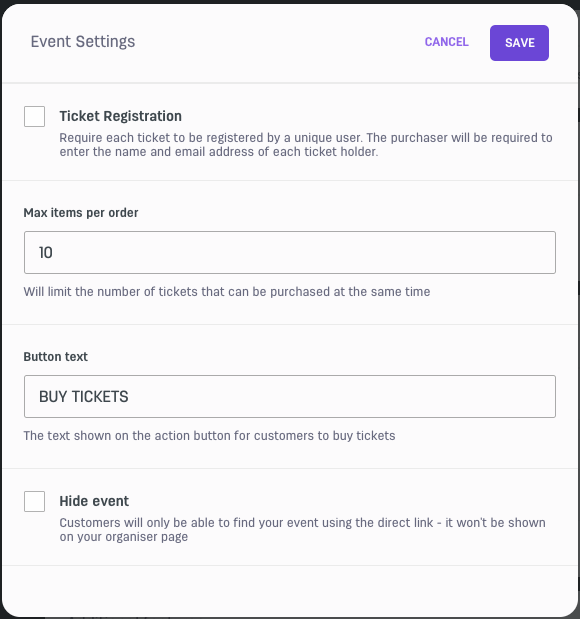
Edit Event Settings
- To edit the "Event settings", select the pencil icon next to the section.
To enable that each ticket needs to be registered by a unique user, select the "Ticket Registration" tick-box.
The event will be visible by default when publishing the event. Select "Hide event" to not show the event when searching on the Howler website. Select "Save" when done.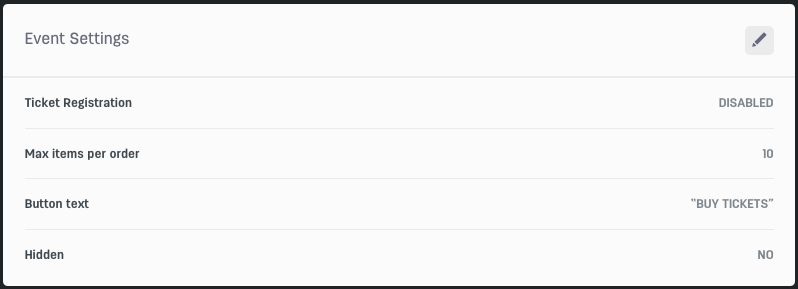
- Now that your event has been set up, you can "Preview" and/or "Publish" it.

For any additional information or help please phone or email your account manager or Howler support at: clientsupport@howler.co.za
Add as much info as possible to your event page - This assists our customer support team with understanding your event and answering any customer questions.