Marketing Tools - Sending an email campaign
 Updated
by Robyn Marais
Updated
by Robyn Marais
How to send an email campaign
Get started with the Marketing tool feature of the Organiser Portal with this guide.
Watch the video or follow the steps below to send an email campaign to your customers.
- Visit organisers.howler.co.za.
- Search the organiser by selecting the drop down arrow next to the organiser name.
- Click on Marketing to open the Campaigns page as seen below.
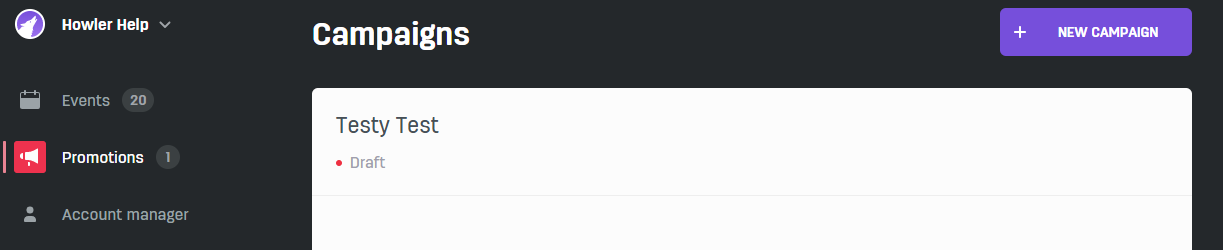
- To create a new promotion click on the purple button "+ NEW CAMPAIGN"
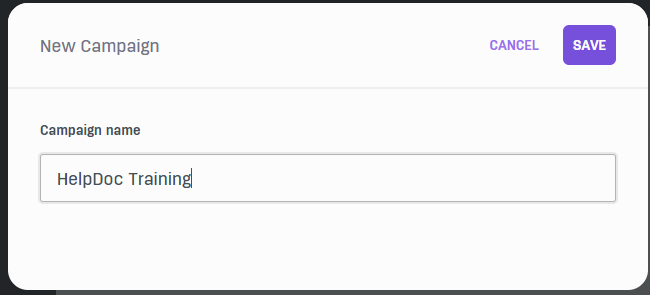
- Choose and type an appropriate descriptive Campaign Name and click the "SAVE" button.
- The first container box is to configure the Audience. Here you can add the list of people to whom you want to send this campaign to.
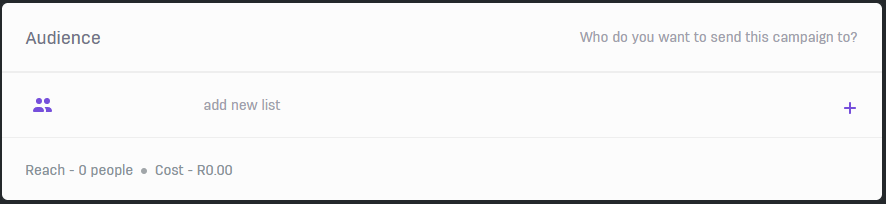
- Click on the "+" button to add a new list
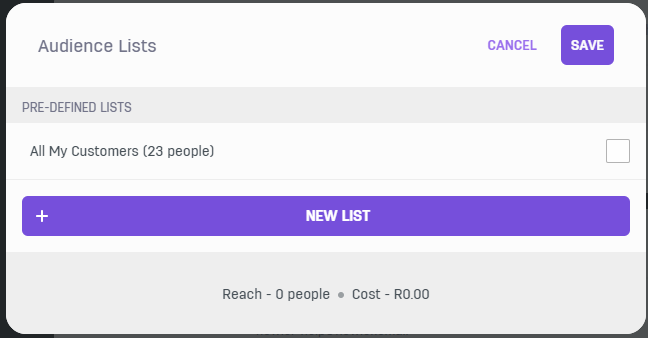
- Here you can either choose an existing list which has been made previously or you can create a new list. Let us go ahead and create a new list by clicking the "+ NEW LIST" button.
- Type a descriptive name for your list which clearly indicates which type of audience the list contains.
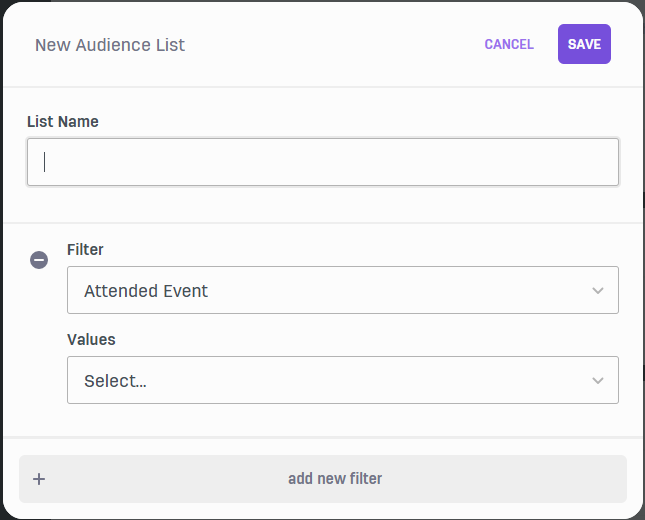
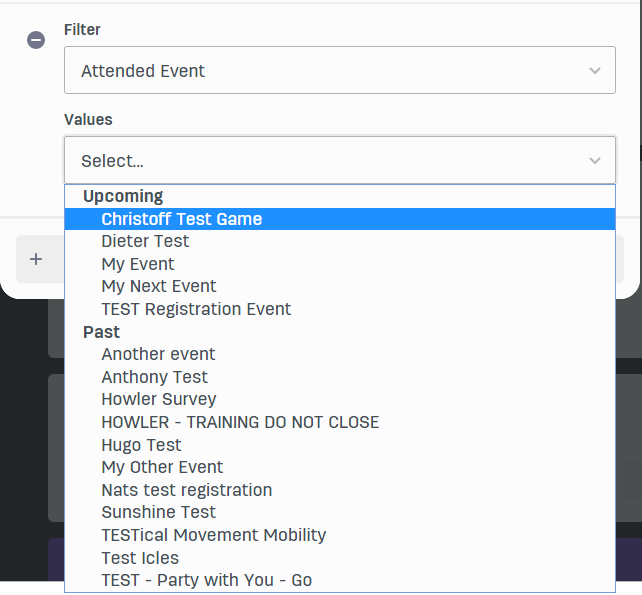
- The "Filter" fields are used to select certain users based on certain criteria to be added to a list. The current settings are to Filter and add all people who has "Attended Event" and in the "Values" dropdown list you can select the "Event". This will filter and add all who has attended the chosen event.
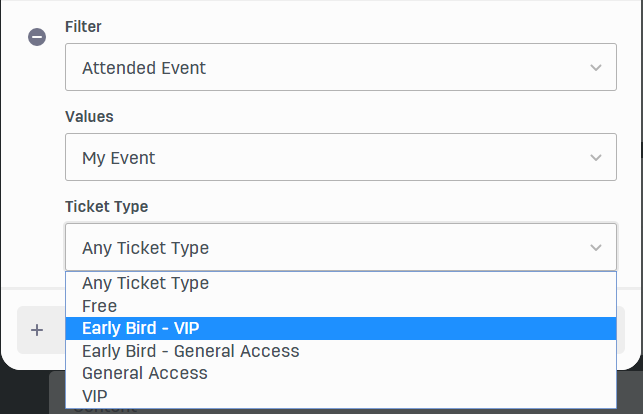
- You can then also continue to filter based on "Ticket Type" of the selected event.
- If you have filtered out the specific audience you want to add to your list you can click the "SAVE" button on the right hand corner to save the list.
- Here you can select the list you want to use in this campaign as your audience. Choose the list you created or choose to send to all your customers by clicking the checkbox to the right hand side.
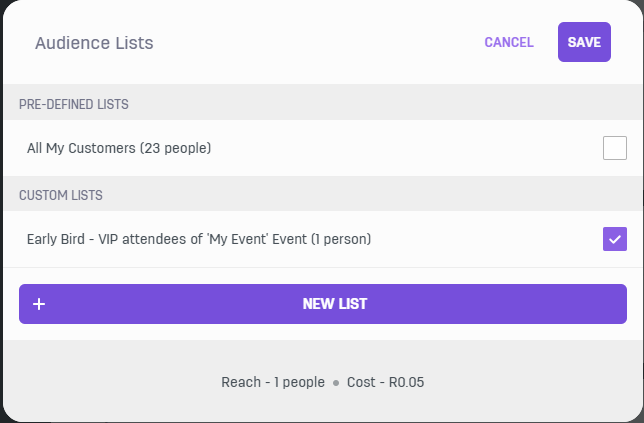
- At the bottom after you have selected your list it will show you the amount of people your campaign will reach and work out the cost of the campaign. Here you can see this campaign will be sent out to 1 person and the cost will be R0.05 per email.
- The next container displays the email and name of the Organiser which will be visible to the customer as the campaign sender. Currently this will just display the Name of the organiser and the email of the organiser and cannot be changed.

- The next container is where you can customize the "Subject Line" of the campaign which will show in the email "Subject" section.
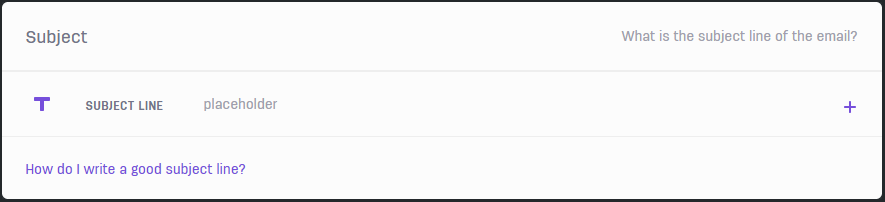
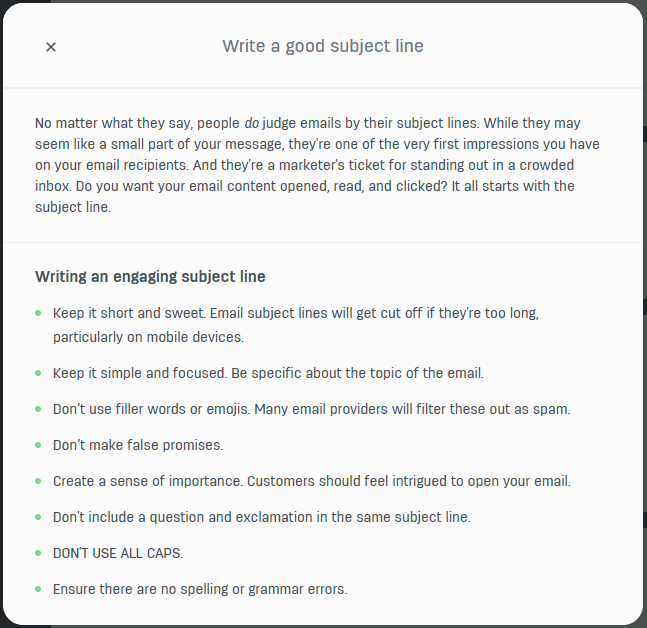
- If you struggle to come up with a good subject line, we got you covered. click on "How do I write a good subject line?" for some great tips.
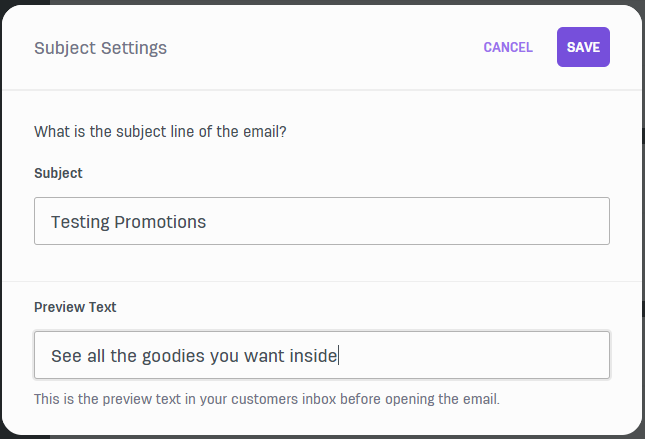
- Click on the "+" sign on the right to create your "Subject Line" and "Preview Text". When you are done filling in the Subject and Preview Text fields you can click the "SAVE" button on the right hand top corner.
- The next container is where all the fun stuff happens. This is where you can customize the "Content" of your email campaign. To start, click on the "Open template editor" button.

- Welcome to the "Email Editor 1.1". In the below picture, you will see the "Content" tab open with all the different types of content that you can choose to add to your email template.
Here you can customize your email campaign by selecting one of the below "Basic" content blocks and dragging them into the template on the right of this bar.

- Or alternatively you can choose the "Premade" content blocks to save some time and use the templates already created. Just browse through the options, find the one you would like to use, click and hold to drag and drop it in the template block.

- The "Structure" tab allows you to change the layout blocks on the template to structure your campaign into different columns etc. To add them, click and hold the one you like to drag and drop it into your template on the right.

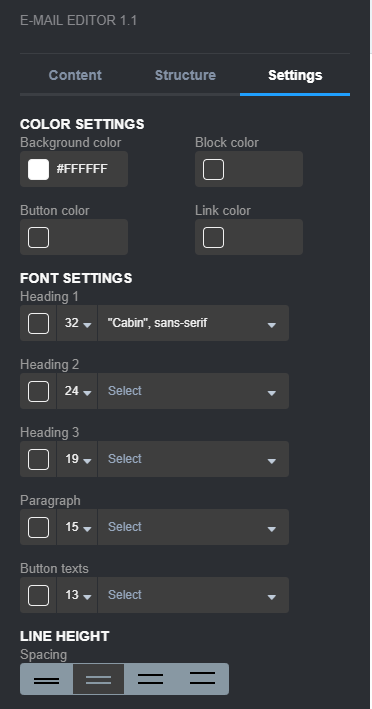
- The "Settings" tab allows you to configure Color Settings, Font Settings and Line Height.
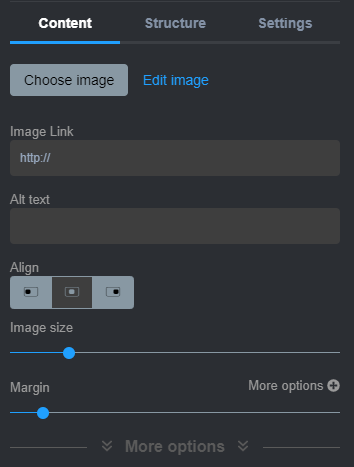
- When you have added a content block and you select it in the template the content settings on the left will change to allow you to customize the specific content item you have selected. Below I have selected an image.
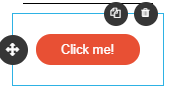
- If you select a content block item in the template editor it has three different black circles. See the "Button" content block below. The four arrows outward icon on the left hand side is to move the content block around. The dustbin icon on the top right corner is to delete the item. The double document icon is to duplicate the item.
- You can at any moment preview your email campaign by clicking the "Preview & testing" button at the top left of the template.
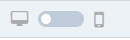
- Here you can change the view to see how it will display on "Computer screen" or "Phone screen" by toggling the button on top left corner.
- If you want to preview the mail campaign in your email you can send a test email by filling in the email in the top right corner and clicking the paper plane icon to send.

- You can "Save" any changes made or alternatively when you have completed your campaign template design and you want to send it you can click "Save & Close".
- The final step is the click the "Send Now" button in the purple Launch container when you have fully completed configuration and design to send out the campaign to your audience.

Tips to send a great marketing email.
Try to make messaging concise
Customers don't like reading. They'll skim the email at best. So concise and to-the-point emails will get your message across more effectively. Make use of short paragraphs and bullet points to outline key messages.
Include a clear call to action
Customers should know what the point of the email is from the moment it arrives in their inbox. Include your call to action in your subject line and main header and make sure to include links with buttons. If you're announcing a new event on sale or a new phase of tickets, include a link to the event page where they can buy tickets, make it clear. Using actionable language helps the customer to know exactly what to do and where to go.
Write an intriguing subject line
The subject line is what entices customers to actually read your email. Know your customer and what they want to gain from this message. If it's a special ticket price, include this in the subject line. Highlight the value and benefit to them. Tell the customer what they will gain from reading this email while making it "catchy". Include your call to action to give them an idea of what their steps will be.
Add visual elements
Include your logo, event header image and other interesting graphics to make your email visually exciting. These graphics can be specifically designed for this email or recycled from your social media pages. Colourful and eye-catching will make your email stand out from their daily admin.
Proofread and test
If you want to preview the mail campaign in your email you can send a test email by filling in the email in the top right corner and clicking the paper plane icon to send.
- View this test on desktop and mobile to ensure that your email is optimised for both.
- Ensure your links and call to action are functional.
- Go through the customer journey to ensure it is easy, intuitive and clear.
- Read through the copy to ensure there are no spelling errors.
Ensure your mail won't be reported as spam
Ensure deliverability on your emails and avoid your emails being reported as spam by maintaining relevant and engaging content.
- Balance your text-to-image ratio. Don't send an image as an email, ensure there is some copy while including images to maintain interest.
- Avoid spam trigger words. Be creative with your writing by using a thesaurus and writing tools to avoid words like "discount", "guarantee" or "free".
- Don't overuse emojis in your subject line. An emoji or 2 keeps your content engaging but overusing emojis is detected as spam. Do not use multiple emojis consecutively.
- Test your email to ensure it is optimised for desktop and mobile.